I needed to install the exchange 2010 management tools on a windows 2012 R2 server to support some o365 migration software. I was able to follow the information below to get it installed once I added a few more steps for windows 2012 R2.
First you need the AD DS and AD LDS tools for windows 2012 R2 enabled and IIS 6 Management Compatibility. To get those installed i used
Once these two items where enabled, the follow steps ran through without an issue.
The Exchange Server 2010 management tools can be installed on a computer running one of the following operating systems:
Windows Vista 64-bit with Service Pack 2
Windows 7 64-bit
Windows Server 2008 64-bit with Service Pack 2
Windows Server 2008 R2
To install the Exchange 2010 management tools on your Windows 7 computer you first need to configure the pre-requisite components.
Open the Control Panel, click on Programs and then click on Turn Windows Features On or Off. Enable the features shown here.
Enable Windows 7 features required for Exchange Server 2010 management tools
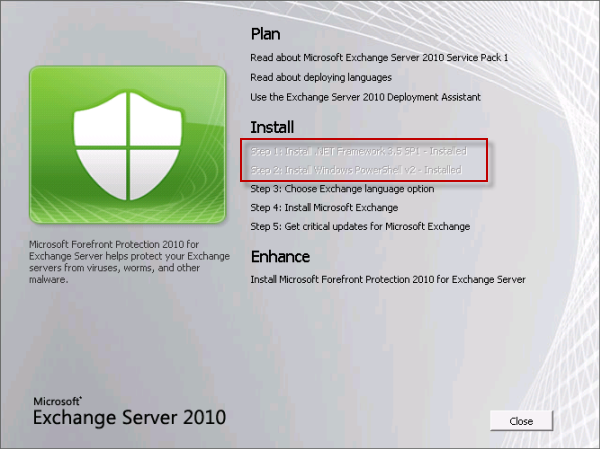
Download the Exchange Server 2010 SP1 installation files and extract them to a temporary folder on your computer. From that folder launch Setup.exe. If your computer is missing either the .NET Framework or Windows PowerShell pre-requisites there will be links for Step 1 and 2 to download and install them.